The Painter's Complete Guide to Wall Protection Tools: Protecting Floors and Maximizing Efficiency
Introduction: Why Paint Projects Become Flooring Disasters
Every painting project begins with good intentions, but statistics reveal a sobering reality: **65% of DIY painters and 22% of inexperienced professionals report significant floor damage** during painting projects. The average repair cost for paint-damaged hardwood floors ranges from $800 to $2,500, while carpet replacement can exceed $3,000 for a standard living area.
The primary culprits behind painting-related floor damage are:
- **Drip trails** from loaded brushes moving between paint tray and wall
- **Overspray fallout** from spray painting (particles travel up to 15 feet)
- **Accidental spills** when moving paint containers (averaging 2-3 spills per project)
- **Tape residue** that pulls up finishes when removed incorrectly
- **Equipment dents** from ladders, paint trays, and tool drops
Professional painters understand that **proper protection accounts for 30% of project time but prevents 95% of damage claims**. This comprehensive guide reveals the tools and techniques that separate successful projects from flooring disasters.
---
## Part 1: Floor Protection Tools - Your First Line of Defense
### 1.1 Professional Drop Cloths: Beyond Basic Tarps
#### Types and Specifications:
**Canvas Drop Cloths** (The Professional Standard):
- **Weight**: 10-12 oz/sq yd (heavy-duty)
- **Thread count**: 120x80 (tight weave prevents bleed-through)
- **Treatment**: Double-filled with natural flaxseed oil
- **Advantages**: Absorbent, naturally slip-resistant, reusable 50+ times
- **Best for**: Interior walls, woodwork, high-traffic areas
**Poly-Cotton Blends** (Modern Hybrid):
- **Composition**: 65% polyester, 35% cotton
- **Features**: Water-resistant backing, reinforced corners
- **Advantages**: Lighter weight, mildew resistant, machine washable
- **Best for**: Bathrooms, kitchens, exterior work
**Disposable Poly Sheeting** (Economy Option):
- **Thickness**: 0.8-1.2 mil (avoid anything thinner)
- **Features**: Taped seams, grommets for securing
- **Best for**: One-time projects, ceiling work, spray applications
#### Professional Application Method:
1. **Overlap technique**: 12-inch minimum overlap between cloths
2. **Weighted edges**: Use sand-filled weights every 4 feet
3. **Tapered layering**: Thicker protection near walls, lighter in walkways
4. **Daily inspection**: Check for paint accumulation and reposition as needed
### 1.2 Edge Protection Tape: The Invisible Barrier
#### Technical Specifications by Type:
**Delicate Surface Tape** (Blue Painter's Tape):
- **Adhesion level**: 12-14 oz/inch width
- **Removal window**: 14 days without residue
- **UV resistance**: 30-day exterior rating
- **Temperature range**: 50°F to 80°F optimal application
**Multi-Surface Tape** (Green/Beige Variants):
- **Adhesion**: 16-18 oz/inch width
- **Surface tolerance**: Textured walls, cured paint (30+ days)
- **Removal**: 21-day clean removal guaranteed
- **Special feature**: EdgeLock technology prevents bleed-through
**Professional Grade Tape** (Purple/Orange):
- **Adhesion**: 20-24 oz/inch width
- **Extended removal**: 60 days on smooth surfaces
- **Chemical resistance**: Withstands oil-based paints and stains
- **Application range**: 40°F to 100°F
#### Application Master Technique:
1. **Surface preparation**: Clean with alcohol-based cleaner, allow to dry
2. **Temperature check**: Ensure surface and tape are above 50°F
3. **Application pressure**: Use plastic smoother for complete adhesion
4. **Removal angle**: 45-degree pull for clean release
5. **Timing**: Remove when paint is dry but not cured (consult paint specifications)
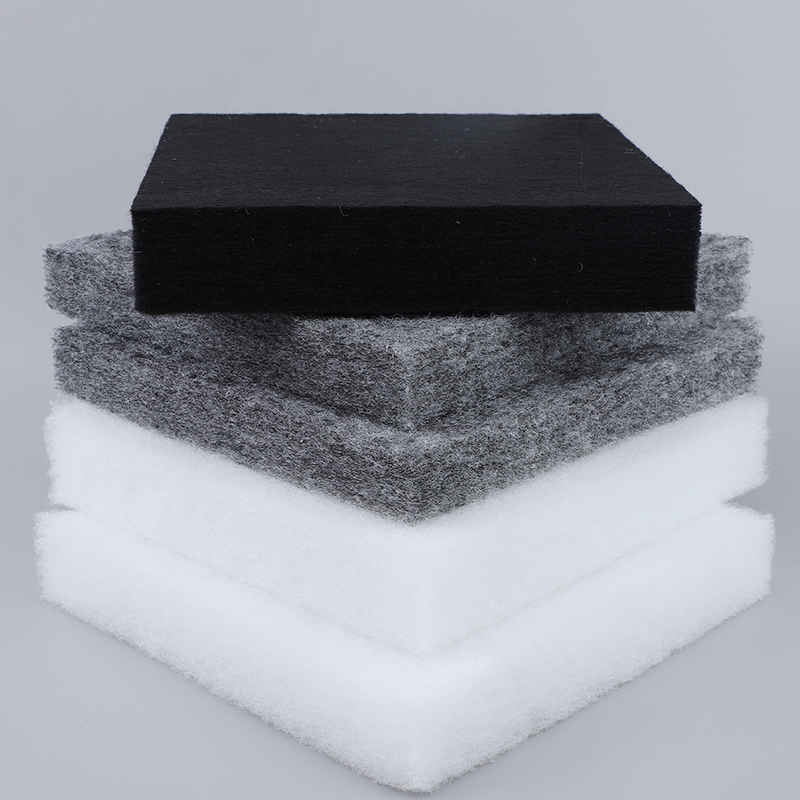
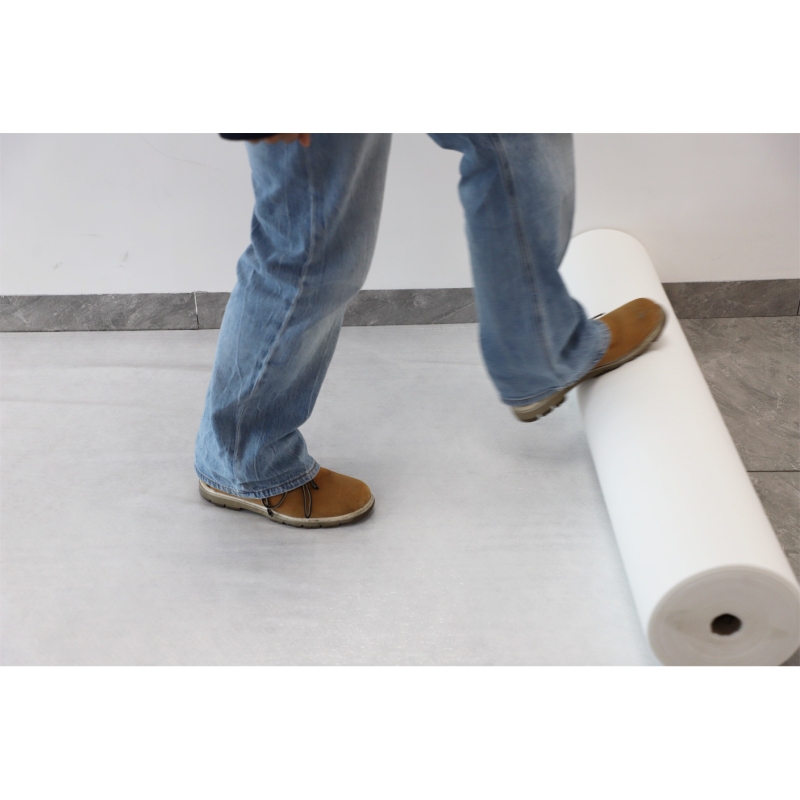
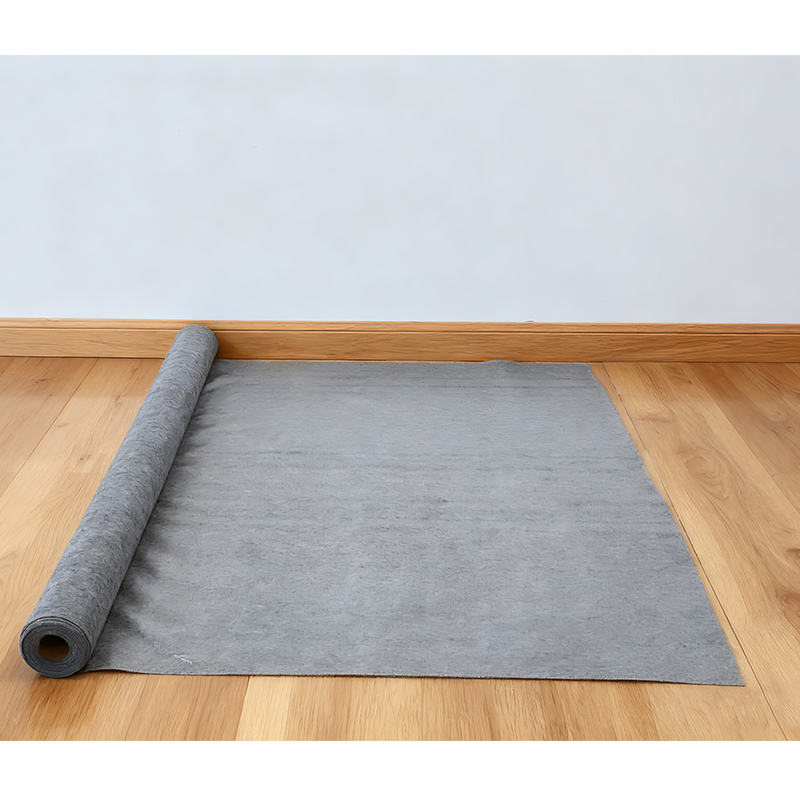
### 1.3 Non-Woven Protection Film: The Modern Solution

#### Why Professionals Are Switching:
- **100% paint-proof**: No bleed-through even with heavy applications
- **Static cling**: Adheres without adhesive to most surfaces
- **Tear resistance**: 8x stronger than polyethylene
- **Sound dampening**: Reduces equipment noise by 40%
- **Environmental**: 100% recyclable, some brands biodegradable
#### Installation Protocol:
Step 1: Unroll film along wall-floor junction
Step 2: Use magnetic strips for metal baseboards
Step 3: Overlap seams 6 inches minimum
Step 4: Secure edges with low-tack tape (not on floor)
Step 5: Use corner weights for high-risk areas
### 1.4 Corner Protectors: Three-Dimensional Protection
#### Comprehensive Protection System:
**Adjustable Corner Guards**:
- **Material**: Clear PVC or polycarbonate
- **Height**: 36-48 inches adjustable
- **Thickness**: 1.5mm impact-resistant
- **Features**: Spring-loaded for tension fit, no adhesives needed
**Baseboard Shields**:
- **Design**: L-shaped with 4-inch vertical, 2-inch horizontal
- **Attachment**: Micro-suction technology (reusable)
- **Specialty**: Contoured models for ornate trim
**Radiator Protectors**:
- **Size**: Customizable to fit behind heating elements
- **Material**: Heat-resistant up to 180°F
- **Installation**: Magnetic or clip-on systems
---
## Part 2: Wall and Edge Protection Systems
### 2.1 Painter's Tape: The Science of Clean Lines
#### Advanced Tape Selection Guide:

#### Professional Application Secrets:
1. **The Burnishing Method**: After application, rub edge with plastic card using firm pressure
2. **Double-Tape Technique**: For critical edges, apply two parallel lines 1/16" apart
3. **Timed Removal**: Remove tape when paint is dry to touch but not fully cured (typically 1-2 hours)
4. **Angle Cutting**: Use sharp blade at 45° angle for perfect inside corners
### 2.2 Protection Films: Beyond Basic Coverage
#### Professional-Grade Systems:
**Static-Cling Window Film**:
- **Thickness**: 1.2 mil clear polyester
- **Coverage**: 36" x 25' per roll
- **Application**: Mist with water for perfect adhesion
- **Removal**: Pulls off cleanly, leaves no residue
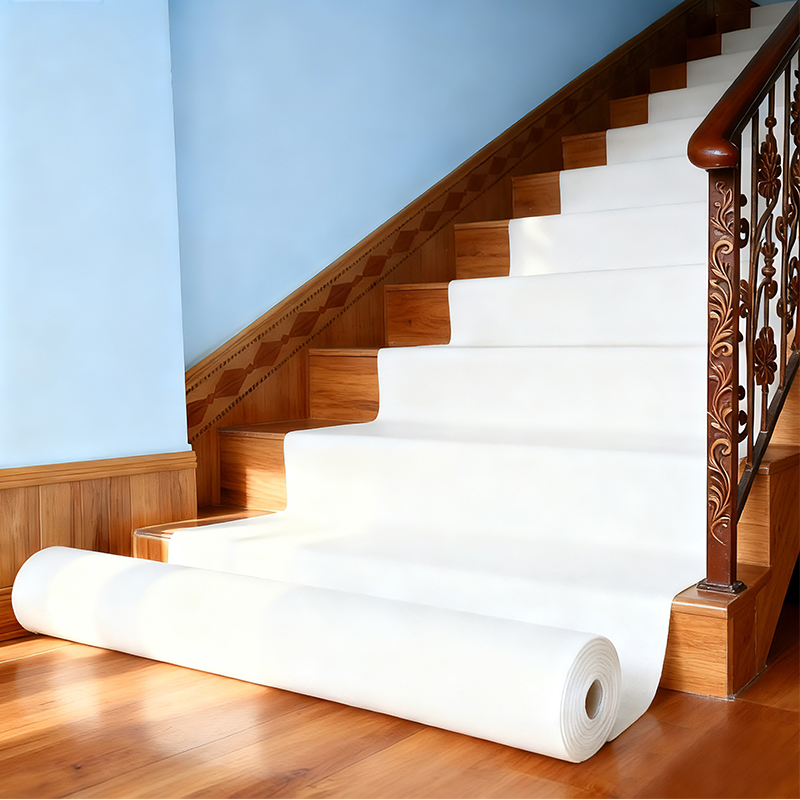
**Flexible Masking Film**:
- **Features**: Integrated tape edge on one or both sides
- **Widths**: 12", 18", 24", 36"
- **Specialty**: Can be stretched around curved surfaces
- **Use case**: Stair spindles, curved moldings, intricate details
**Heavy-Duty Floor-to-Wall System**:
- **Construction**: 3-layer composite with absorbent middle layer
- **Width**: 48" to cover baseboard and floor in one piece
- **Attachment**: Adhesive top edge, non-slip bottom
- **Professional use**: Commercial projects, high-volume painting
### 2.3 Door and Window Protection Covers
#### Complete Protection Kits:
**Pre-formed Door Covers**:
- **Material**: 4-mil reinforced polyethylene
- **Design**: Zipper access, elastic edges
- **Sizes**: Standard door sizes + custom options
- **Features**: Magnetic closure, tool pockets
**Window Masking Systems**:
Standard Kit Includes:
1. Glass protection film (static cling)
2. Frame masking tape (1/4" delicate)
3. Sill protectors (reusable plastic)
4. Lock and hardware covers
5. Hinge shields
**Multi-Panel Sliding Door Covers**:
- **Design**: Sectional panels with Velcro connections
- **Mobility**: Roll-up design for partial access
- **Transparency**: Maintains light and visibility
- **Storage**: Folds to 10% of deployed size
### 2.4 Electrical Component Protection
#### Comprehensive Safety System:
**Outlet and Switch Masking Kits**:
- **Pre-cut sizes**: Standard, GFCI, decora styles
- **Material**: High-temp resistant (up to 200°F)
- **Installation**: Turn off power, remove plate, apply mask
- **Professional tip**: Number each cover for easy reinstallation
**Light Fixture Protection**:
- **Disposable bags**: Various sizes with drawstring closure
- **Plastic caps**: For ceiling-mounted fixtures
- **Extension cord covers**: Protect floor outlets during use
**HVAC Vent Covers**:
- **Magnetic versions**: For metal registers
- **Adhesive models**: For wooden or plastic vents
- **Special feature**: Paint filter to prevent overspray entering ducts
---
## Part 3: Professional Painter's Secret Weapons
### 3.1 Multi-Function Protection Carts
#### The Mobile Protection Station:
**Standard Configuration**:
- **Base**: 24" x 36" rolling cart with locking wheels
- **Compartments**:
- Tape dispenser with 6-roll capacity
- Film cutter with measurement guide
- Drop cloth storage (2-4 cloths)
- Tool holders (brushes, rollers, scrapers)
- **Features**: Fold-out work surface, cup holders, waste bag attachment
**Advanced Models**:
- **Integrated vacuum**: For surface preparation
- **Paint mixer attachment**: Battery-powered
- **LED lighting**: For low-light conditions
- **Digital inventory**: Tracks material usage
**Efficiency Impact**: Reduces setup time by 70%, increases daily productivity by 25%
### 3.2 Expandable Protection Systems
#### Modular Components:
**Telescoping Barrier Systems**:
- **Extension range**: 4' to 16' sections
- **Connection**: Spring-loaded locking mechanism
- **Cover options**: Plastic, fabric, or solid panels
- **Use case**: Room division, furniture protection, containment zones
**Roll-Out Floor Systems**:
- **Construction**: Interlocking PVC tiles
- **Coverage**: 100 sq ft in 10 minutes
- **Surface**: Non-slip texture, chemical resistant
- **Specialty**: Can be cut to fit irregular spaces
**Ceiling Protection Grids**:
- **Design**: Suspended grid with drop-in panels
- **Protection**: Prevents dust and paint fall from above work
- **Installation**: Magnetic or hook systems
### 3.3 Disposable Protection Suits and Accessories
#### Complete One-Time-Use Systems:
**Professional Painter's Suit**:
- **Material**: Polypropylene with elastic closures
- **Features**: Hood with drawstring, sealed seams
- **Sizes**: XS to 4XL with adjustable elements
- **Special options**: Flame-resistant, chemical-resistant variants
**Multi-Piece Protection Kits**:
Standard Kit Contents:
1. Shoe covers (heavy-duty, non-slip)
2. Gloves (nitrile, textured grip)
3. Hair cover and face mask
4. Eyewear with side protection
5. Knee pads (disposable or reusable)
**Tool Protection Covers**:
- **Brush and roller bags**: Prevent drying between coats
- **Paint tray liners**: Disposable, fits all standard trays
- **Ladder end caps**: Prevent marks on walls and floors
- **Extension pole sleeves**: Protect ceilings and light fixtures
---
## Part 4: Cleaning and Organization Tools
### 4.1 Professional Scraping and Removal Tools
#### Specialized Scrapers:
**Paint Shield Scraper**:
- **Blade**: 4-inch flexible stainless steel
- **Handle**: Ergonomic with pressure control
- **Special feature**: Integrated drip catcher
- **Use**: Tape removal, drip cleanup, surface preparation
**5-in-1 Painter's Tool**:
Functions:
1. Putty knife (1.5" blade)
2. Scraper (angled edge)
3. Roller cleaner (notched edge)
4. Hammer (for opening cans)
5. Nail puller (slot design)
**Detail Removal Tools**:
- **Tape release tool**: Angled blade for edge work
- **Residue remover**: Plastic blades for delicate surfaces
- **Corner cleaner**: 90-degree design for inside corners
### 4.2 Cleaning Solvents and Systems
#### Paint-Specific Cleaners:
**Water-Based Paint Removers**:
- **Formula**: Citrus-based, biodegradable
- **Action time**: 2-5 minutes for dried paint
- **Surface safe**: Won't damage most finishes
- **Professional use**: Large containers with pump dispensers
**Oil Paint and Stain Cleaners**:
- **Primary solvent**: D-limonene or soy-based alternatives
- **Safety rating**: Low VOC, minimal odor
- **Effectiveness**: Removes cured paint up to 30 days old
- **Application**: Spray, soak, or wipe methods
**All-Purpose Cleaning Station**:
Three-Bucket System:
Bucket 1: Pre-clean (remove bulk material)
Bucket 2: Deep clean (solvent action)
Bucket 3: Rinse (water or neutralizer)
### 4.3 Waste Management Systems
#### Professional Containment:
**Paint Waste Separation**:
- **Solid waste**: Dried paint, used tape, dirty cloths
- **Liquid waste**: Unused paint, solvents, cleaners
- **Hazardous materials**: Oil-based products, certain chemicals
**On-Site Processing**:
1. **Paint hardener**: Turns liquid waste into solid for disposal
2. **Filter system**: For cleaning and reusing solvents
3. **Compactor**: Reduces volume of disposable protection materials
**Recycling Protocol**:
- **Metal containers**: Separate from general waste
- **Plastic protection**: Check local recycling codes
- **Solvent recovery**: Professional services available
- **Cloth recycling**: Some manufacturers take back used drop cloths
---
## Tool Brand Recommendations and Buying Guide
### Professional-Grade Brands:

### Buying Strategy:
**For Professionals**:
- Purchase in bulk (10+ rolls/cases)
- Establish accounts with distributors
- Attend trade shows for new product demos
- Consider annual contracts for consistent pricing
**For DIYers**:
- Buy project-specific kits
- Rent specialty equipment
- Check return policies on unused materials
- Invest in reusable quality items for multiple projects
### Cost Analysis:
Typical Whole-House Project Protection Costs:
Professional system: $300-$500 (0.5-1% of project cost)
DIY basic protection: $75-$150
Potential damage without protection: $800-$5,000+
---
## DIY Enthusiasts vs. Professional Crews: Tool Selection Differences
### Key Distinctions:
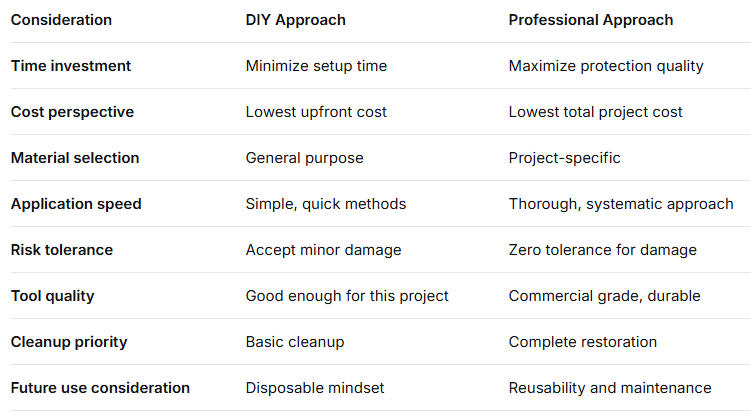
### Hybrid Approach for Serious DIYers:
1. **Invest in reusable protection** (canvas drop cloths, corner guards)
2. **Rent specialty equipment** (protection carts, spray shields)
3. **Buy professional-grade consumables** (tape, films)
4. **Follow professional techniques** (proper overlap, systematic coverage)
### When to Call Professionals:
- Historic homes with delicate surfaces
- High-value flooring (hardwood, marble, specialty carpets)
- Whole-house repaints requiring systematic protection
- Tight timelines where mistakes are costly
- Commercial spaces with liability concerns
---
## Implementation Checklist for Perfect Protection
### Pre-Paint Preparation:
- [ ] Conduct floor and surface assessment
- [ ] Calculate material needs (add 20% buffer)
- [ ] Test protection materials on inconspicuous area
- [ ] Establish clean/dirty zones
- [ ] Create protection installation sequence
### Daily Maintenance:
- [ ] Morning inspection of all protection
- [ ] Replace compromised materials immediately
- [ ] Clean protection surfaces of accumulated debris
- [ ] Document any incidents or near-misses
- [ ] Adjust protection as work areas change
### Project Completion:
- [ ] Remove protection in reverse installation order
- [ ] Clean as you remove each layer
- [ ] Conduct final floor inspection under multiple light conditions
- [ ] Properly store reusable protection materials
- [ ] Dispose of waste according to local regulations
---
The Professional's Bottom Line
The most successful painting projects aren't measured by how well the paint goes on, but by how perfectly everything else is protected. Professional painters don't view protection as an expense or inconvenience—they recognize it as **the foundation of quality workmanship**.
**Remember these key metrics**:
- Proper protection adds 15-25% to project time
- It reduces cleanup time by 40-60%
- It eliminates 95% of damage claims
- It increases client satisfaction and referral rates by measurable margins
Whether you're a DIY homeowner tackling a weekend project or a professional painter managing commercial accounts, investing in the right protection tools and following systematic approaches will save you money, time, and reputation.
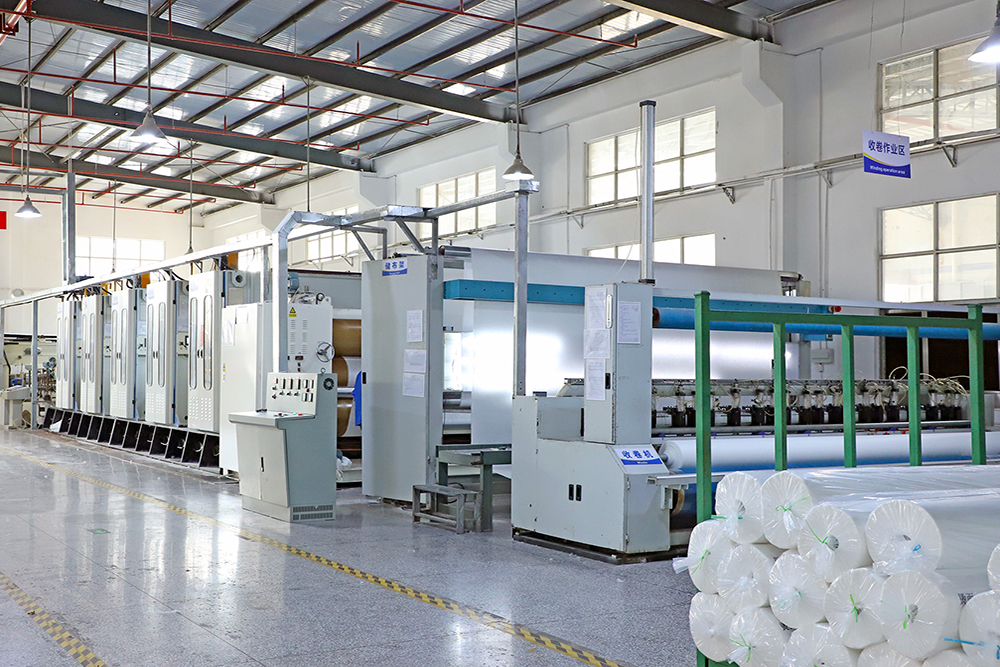
Industrial grade floor protection manufacturers:Huizhou Jinhaocheng Nonwovens,a factory from China with over 20 years of history in the production of non-woven fabric protective pads
The paint will eventually need refreshing, but damaged floors and angry clients leave permanent marks. Choose protection, choose professionalism, choose peace of mind.